Post Views: 473
How to sew a Fleece Blanket?
Certainly! Below is a professional, step-by-step guide tailored to your business’s expertise in fleece blanket production. This article is designed to educate customers while subtly highlighting quality materials and craftsmanship.
How to Sew a Fleece Blanket: A Step-by-Step Guide
Fleece blankets are beloved for their warmth, softness, and durability. As a professional fleece manufacturer, we know that sewing your own blanket can be a rewarding project—whether you’re crafting a cozy gift or adding a personal touch to your home. Here’s an easy-to-follow guide to create a beautiful fleece blanket, using high-quality materials and professional techniques


Materials You’ll Need
- Fleece fabric: Choose premium anti-pill or polar fleece (1.5–3 yards, depending on desired size).
- Fabric scissors or a rotary cutter.
- Straight pins or clips.
- A sewing machine with a universal or ballpoint needle.
- Coordinating polyester thread (for durability).
- A ruler or measuring tape.
- Optional: Decorative elements (ribbons, appliqués, or embroidery supplies).
Step 1: Prepare the Fabric
- Pre-wash the fleece: To prevent shrinkage, wash and dry the fabric before cutting.
- Cut to size: Lay the fleece flat and trim it to your desired dimensions (e.g., 50″x60″ for a throw). Use sharp scissors for clean edges.
Pro Tip: For a double-layer blanket, cut two identical pieces. This adds thickness and warmth, ideal for colder climates.


Step 2: Align and Pin the Edges
- Layer the fabric: If using two layers, place them wrong sides together (fleece has no distinct right/wrong side, but ensure patterns align).
- Smooth out wrinkles: Ensure the fabric lies flat without stretching.
- Pin the edges: Secure the layers with pins or clips every 4–6 inches.
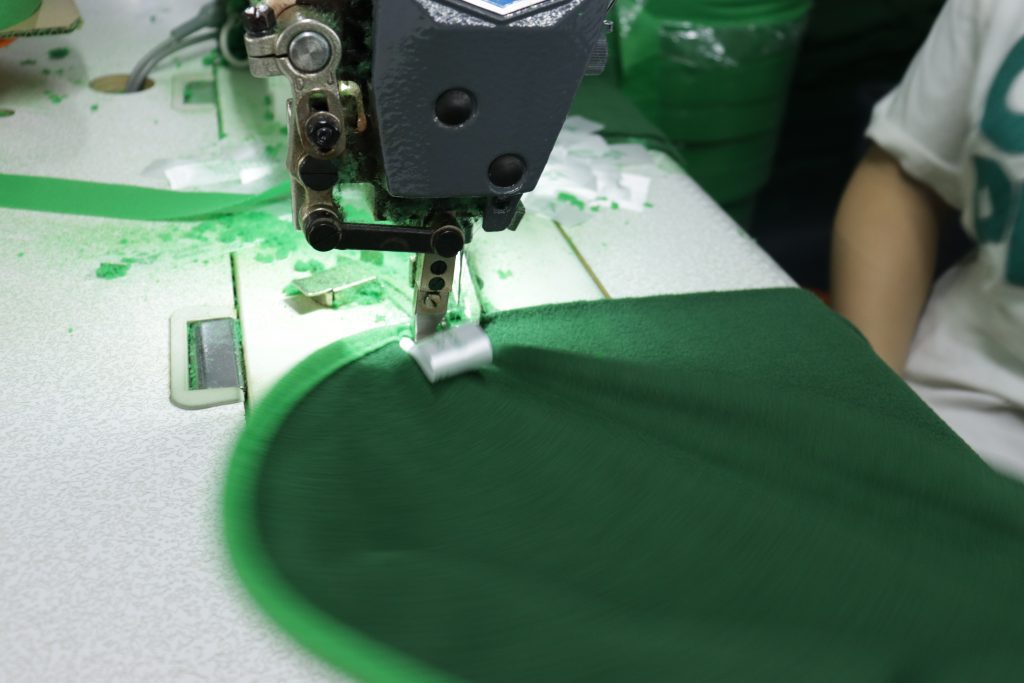
Step 3: Sew the Blanket
- Set up your sewing machine:
- Use a straight stitch or narrow zigzag stitch (for flexibility).
- Set stitch length to 2.5–3 mm.
- Sew around the edges:
- Leave a ½-inch seam allowance.
- Backstitch at the start and end to secure threads.
Pro Tip: For a polished look, round the corners slightly before sewing.


Step 4: Add Decorative Touches (Optional)
Elevate your blanket with custom details:
- Fringe edges: Cut 3–4 inch slits along the edges and knot them.
- Embroidery: Stitch names, patterns, or motifs using embroidery thread.
- Appliqués: Sew on fabric shapes for a playful design.
Step 5: Final Checks
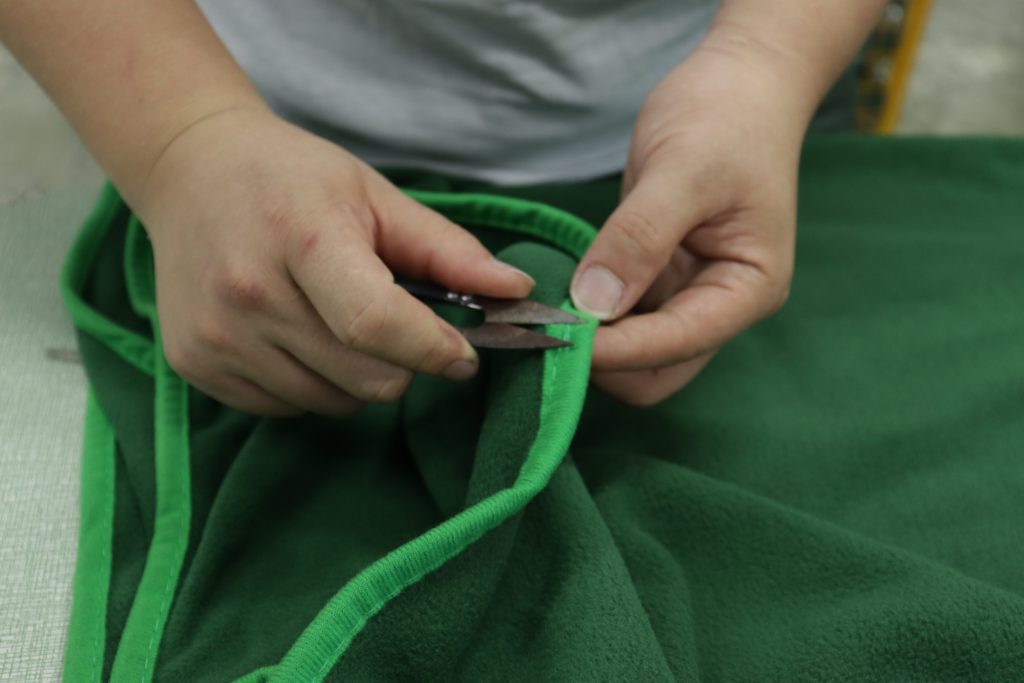
- Trim loose threads.


